Your cart is currently empty!

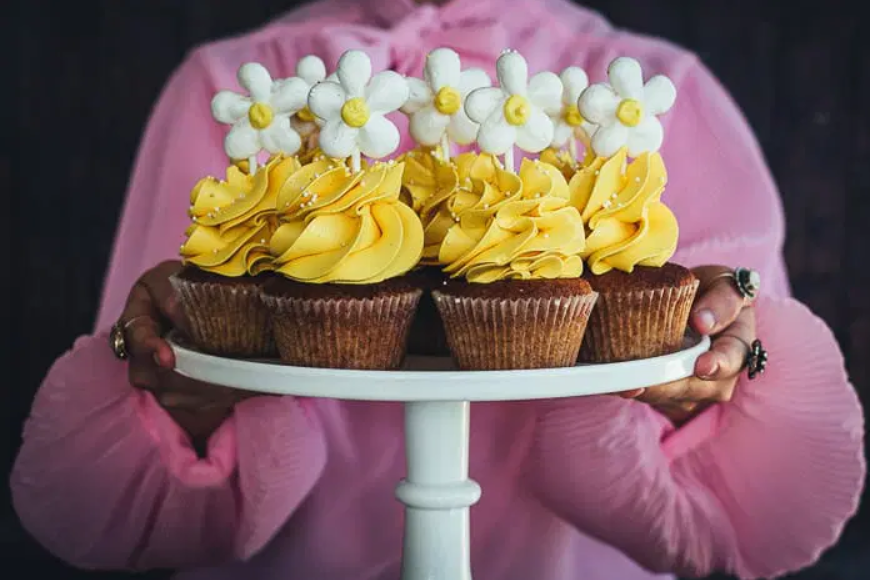
Dramatic Daisy Cupcakes
•
Any number of color combinations will work for these dramatic floral cupcake decorations. Don’t feel you need to stay with just orange. Pink, blue and even yellow would work equally well with this design.
Bakery/Cake Goods Needed:
- Your favorite batch of chocolate cupcakes
- Your favorite butter cream frosting
Daisy Decorating Supplies:
- 1 small batch of premade fondant
(we used Wilton’s Ready-To-Use Rolled Fondant in white) - 1 small batch of premade gumpaste
(we used Wilton’s Ready-To-Use Gumpaste) - 1 recipe of Chocolate Clay*
(see below for details) - Orange food color
(we used Wilton’s paste food color) - Metal circle shaped cutter
(we used 1/2” circle cutter from Wilton’s Round Fondant Cut-outs) - Medium sized daisy petal cutters
- Small rolling pin
- Wax Paper
- Food-safe paint brush
Cupcake Icing Tools:
- Ateco #804 Round Tip
- Icing Bag
- Chocolate glaze
(we used Duncan Hines brand Amazing Glazes) - Small zip lock bag
Finishing Touches:
- Brown cupcake liners
- Plain orange cupcake wrappers
- Brown acrylic paint
Making the Daisy Cupcake Decorations:
Step 1: Mix the fondant and gumpaste togther. Tint the mixture orange. With the small rolling pin, roll out on a flat surface. Cut out flower shapes with daisy cutter. With your fingers, carefully flip up the edges of a couple of daisy petals.
Step 2: Roll out the candy clay to a 1/2” thickness and cut out 1/2” round shaped with the round cutter. With food safe paint brush, moisten the center of each daisy and place a the round chocolate disk in the center.
Icing and Decorating the Cupcakes:
Step 1: Tint the butter cream orange. Fill the icing bag with butter cream and fit the opening with a Ateco #804 Round metal tip.
Step 2: Starting from the outside edge of the cupcake, use a circular motion and squeeze the icing out to cover the cupcake.
Step 3: Warm up glaze according to package directions. Squeeze a little glaze into the zip lock bag and cut an opening in the end.
Step 4: While holding the iced cupcake over a protected surface, use sweeping motions to drip chocolate lines over the butter cream. Wipe up excess drips around the sides of cupcake if you have any.
Step 5: Place a daisy at the center of each cupcake.
Finishing Touches:
Step 1: Lay the orange cupcake wrapper unassembled and flat on newspaper. Drip the brown acrylic paint over the top moving your hand across the top to create a pattern.
Step 2: Let paint dry and assemble wrapper.
Step 3: Place decorated cupcake inside.
